- Be able to accommodate many drives for storage
- Use Windows Home Server 2011
- Have as many CPU cores as economical
- Motherboard should be economical
- Re-utilize parts from my previous PC
- Maximum capability at a low cost.

Numbers 1 and 5 came in via my previous case - a Thermaltake Armor case from about 6 years ago. I ordered it a bit hastily having bolted on a TigerDirect deal on the Q6600 which was bad-ass back then. The Armor is a beast of a case and accommodates a ton and a half of drive slots. Great for a server but it was overkill for an enthusiast PC (and those wing doors and other things drove me crazy).
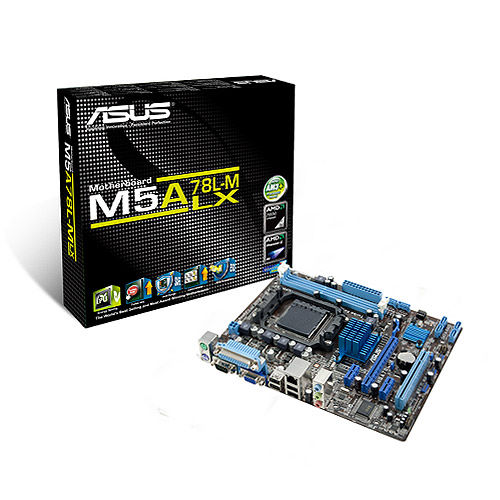
The previous Q6600 motherboard has some fault so it was not reused. I got a deal on an AMD Phenom II 1055 6 core CPU and Asus M5A78L-M LX Motherboard from Microcenter in a bundle deal for around $100 about 6 months ago. With such bundles, you are at the mercy of the bundle for the features of the motherboard. But this one has a very good selection for a basic unit:
- Integrated video (saving money and power on a video card). VGA for switching.
- 6 SATA ports
- A legacy PCI card slot
- Fair number of USB 2 ports.
- mATX form factor - although the case can handle huge boards, if you don't need it, the space is welcome.
For a server, you want to minimize the amount of extras you add to save power and cost. What I did end up adding, for features and because I had parts on hand:
- 4 port USB 3.0 PCI-Ex1 card
- 4 port SATA II PCI Card
- 2 sticks of 4GB AMD PC3 memory that was on a deal from Slickdeals for $9.95/stick during the last low in prices.
I could have gotten a more modern motherboard with more capabilities but again I had "the bundle" deal and these cards were from previous server/PC upgrades so they were bought and paid for. The PCI card will be a big bottleneck for server use but I only have a DVD drive and the server OS backup drive on it at present, freeing up motherboard SATA ports for real use. The USB 3.0 ports are handy for external drives. The card was a noname brand from the far east. No driver disk found and WHS didn't recognize it. A search on Google was sparse but led me to the VIA website where there were qualified drivers meant for manufacturers but they worked fine.
For drives, I wanted to get a few big ones and be done with it but I did not want to blow the budget if I did not have to. The capacity needs were met after some scrounging - I had some 1 and 2 TB drives from an older HP Server and other uses. I repurposed two 1 TB drives and two 2 TB drives for storage, putting them in a 4 bay caddy that was splurge #2 from Microcenter as it made placing drives easier than screwing them into the Armor case. An older 750 GB drive serves to back up the boot drive.

So what did I use for the boot drive? I had a 320 GB drive from the old PC that would have done fine as well as a 300 GB 10,000 RPM drive (but I wanted to keep that OS image). Splurge #1 was getting a refurb 180 GB Corsair SSD on clearance at Microcenter. WHS 2011 wants at least a 160 GB boot drive (although a hack will get that to 60 GB). WHS can be pretty pokey when it comes to access especially the boot and console access. That has always bothered me to an SSD was the way to go. And it works, console startup is an order of magnitude faster.
I took my time on the hardware build, removing the old PC parts, getting all the dust out, getting the new motherboard ready with the CPU and stock cooler and RAM sticks. The harder part was the drive caddy mounting and manufacturing an SSD mount from an old 2.5" bay insert as I was saving money from buying a commercial kit and the old 2.5 to 3.5 fat rails don't work with the SSD.
The cabling is as clean as one can generally make it if the motherboard mount does not have cutouts. If this build was in my desktop Corsair case, the wires would be 98% hidden but this vintage case did not have those and I was not going to drill out large holes and ensure the sharp edges were taken care of. That's ok - this is a server and not for show. The airflow is not impeded by the wiring so all is good. The case has a fan up front and back and a large side fan so for a server it's well ventilated (unlike my production server. It's case was pre-active cooling so I rigged an intake fan in a nonstandard bay and out the back, it will be retired in the next couple years.
My choice of Windows Home Server 2011 is my own. I have used WHS since it first came out, having used Windows XP for a server before that. My home does not have any Macs and Linux is only on the electronics. The WHS backup feature has saved the bacon a number of times and the file sharing works well enough for family use.
Time spent copying files off the HP Server not on the main server then all the server file shares to the new server. I suggest Microsoft RichCopy (free and a bit newer than Robocopy but still 4+ years old).
I moved an external 3 TB drive off the main server used for backup of important files and placed it on the new server as the old server's USB3 drops the drives off every now and then.
So now we have our data on a WHS 2011 primary box with the new server as a server clone and the external drive as a last chance backup. I am still weighing off-site backup alternatives, we have many files secure but it does not work in a dynamic environment. With several hundred thousand pictures, cloud storage could get pricey.
So that's my setup for now. Working on all of these issues was my main hobby for many years and I enjoy doing it but I have been away from the embedded electronics for too long and I have some cool items from YourDuino.com and Adafruit to get assembled.
No comments:
Post a Comment